

🚗 Wrap It Up in Style!
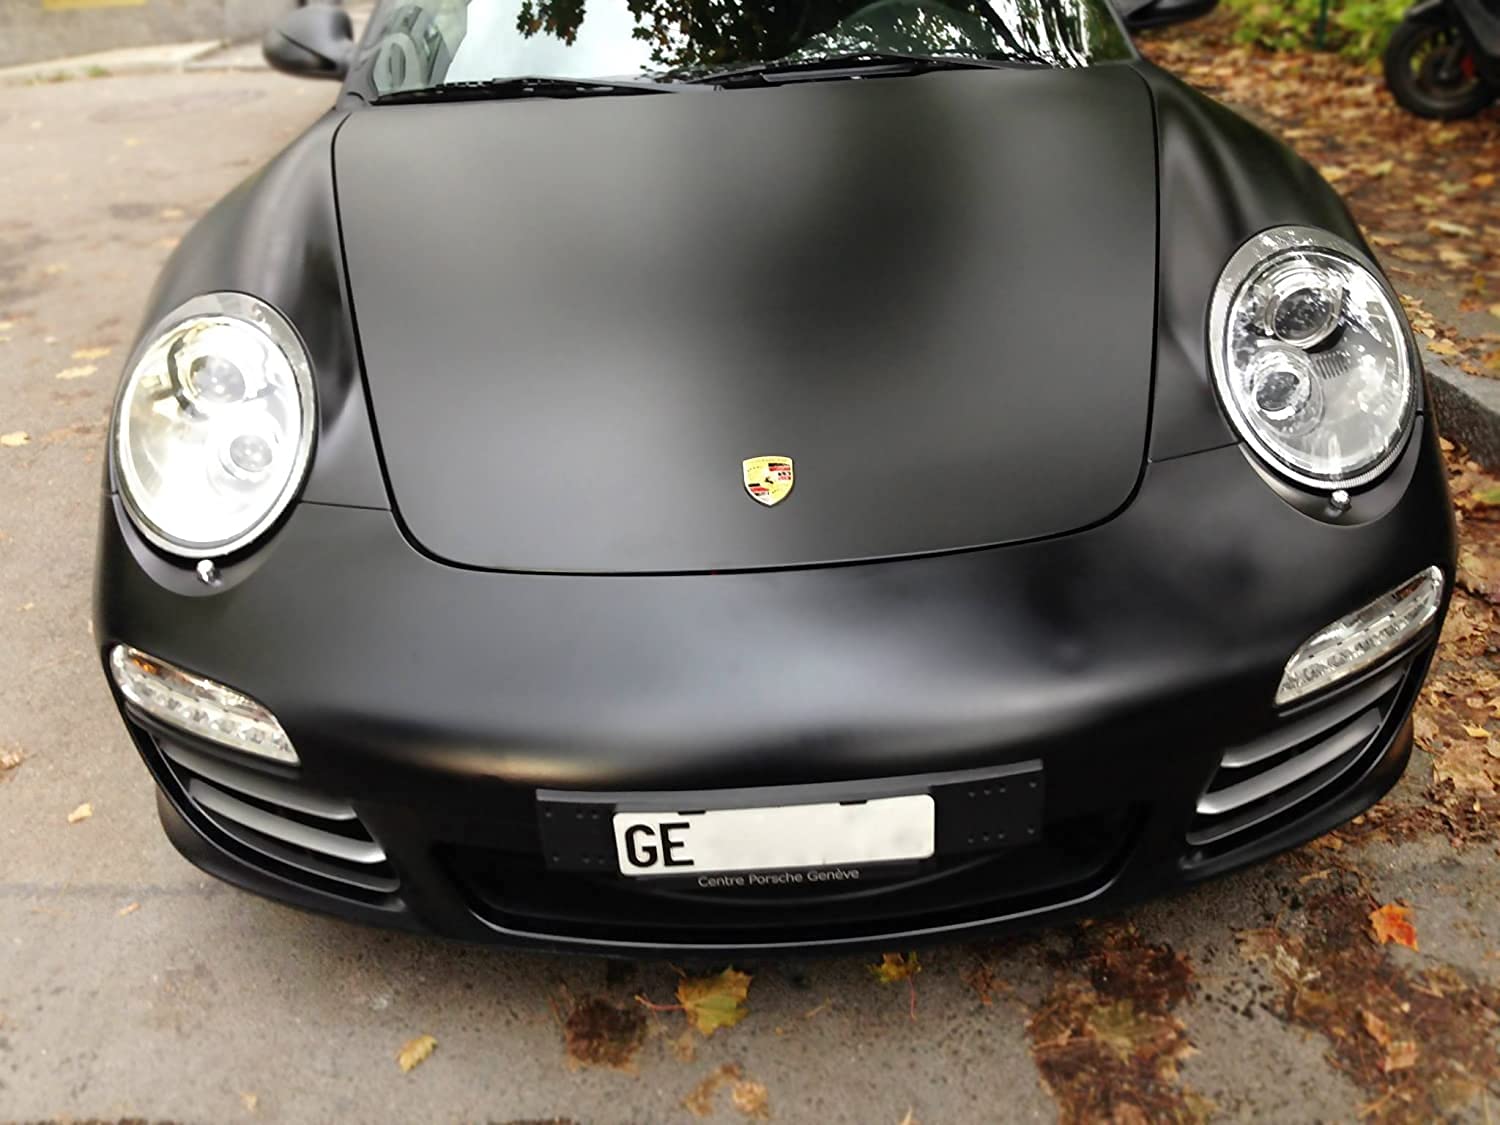
The VViViDSatin Flat Matte Stealth Jet Black Vinyl Wrap Roll is a premium automotive vinyl designed for DIY enthusiasts and professionals alike. Measuring 9ft x 5ft and 3.9mils thick, this durable film features advanced technologies like Air Release, Resist, and Heat Fuse, ensuring a high-quality finish that lasts 5-7 years outdoors. Ideal for fleet and motorsport marketing, it offers a lightweight, economical alternative to traditional paint.
A**S
Failed solo project :/
Long story short - This vinyl is easier to maneuver in small surface areas. For larger ones (ie: car roof or hood), you will need a heat gun to remove some of the wrinkles. Also, I recommend having a second set of hands to assist in larger surfaced projects. Even after I rolled it out overnight, I expected it to be a bit more malleable and was met with a decent amount of resistance.-----So I purchased this with the intention of sticking it to the roof of my '14 Ford Focus (vinyl wrap roof idea) to "upgrade" the look of my car - most places around me charge 250-300 for a process that seems so simple, so as a 5'3" woman, I really wanted to show them who's the boss (... and also spend 1/10 the cost asked by these shops). I found a YouTube video that I watched meticulously over 5 times, demonstrating that it could easily be a solo project with no usage of a heat gun. Side note, they used Avery vinyl but I chose this brand (can't remember why now).I confidently decided to tackle my project one afternoon, only to be hit by an unnecessary amount of wind gusts (they don't tell you to check the weather app before starting these projects). My spirit wasn't shattered quite yet, so the next morning, I geared up for attempt 2.0. I measured, once, twice, five times - I used my magnets to hold the vinyl in place. Equipped with my little kitchen stool, I mustered up the courage to start exposing the adhesive, as my YouTube friend had demonstrated with ease. I watched the video so much that I was even coaching myself with the words from the video - start in the back, place your magnets back after you stick it. Once it's all sticking, use your squeegee, starting from the middle, and working your way out in the same direction, to avoid wrinkles. Sounds easy enough right? Right...Not sure if it's the length of my arms or even my poor upper arm strength, but I could not, for the life of me, get it to lay flat throughout the entire roof. There were wrinkles that I tried to pull out, but.. they simply would not cooperate. I even considered leaving them but knew it didn't look great - trust me, I insisted for about 30 minutes... relocating my stool over and over. At a point, I got so frustrated, I ripped it off and dumped it in the trash. Now I have 1/3 of a wrap and nowhere to put it, though I may use it to create some lighter accepts on the car or even the interior... though in all fairness, I just might suck it up and pay for it at this rate. Pride's been hurt a smidge.
M**A
ENOJADO 😡 POR COMO LLEGO
Malas condiciones en las q llego pésimo
H**M
Not as easy as YOUTUBE makes it seem
So like many I watch several Youtube videos on vinyl wrapping and decided this was something I could DIY. I have some experience installing large window clings for fast food and sporting venues so some of the techniques are transferable. The main thing I found with this brand is that it is very thick and not as malleable out of the box as the ones I saw on Youtube. Those ones are stretchy and make pulling off and repositioning much easier. I had trouble getting this one to "glass" correctly meaning to set and stretch out without a ton of wrinkles. What I ended up doing to get my satisfactory result is what I call the wet method whereas you spray your surface down with a water bottle and set your vinyl down and the water acts as a lubricant so that you can position it more easily. Those that have done window tinting will be familiar with this method. Once you have the vinyl wher you want you can spray water onto the outside and starting in the centerline begin squeegeeing both the outside layer and the underside layer of water and the vinyl will now begin to adhere and the air bubbles will escape to the edges. The tricky part is much of the edges will not stick down, that is because moisture will still be there and they will want to come up. This is where your hair dryer comes in. Start to warm the edges and allow for the water to evaporate as the moisture along the edges start to evaporate the edges will start to adhere...be patient and use your squeegee to keep pressing those stubborn edges down. I would like to try another brand to see if they are easier to work with but I'm not totally against using this stuff again knowing now how to work with it and that it was less expensive than other brands.
P**E
Product as described
Product as described
J**Y
I began tearing my dash apart like an excited child unwrapping presents Christmas morn
Product arrived on time, yesterday in fact. I purchased this to cover the wood grain dash and chrome window trim on my BMW 335i that was purchased as a project car and is slowly sucking my soul from my body. Of course within an hour of having the vinyl in my possession, I began tearing my dash apart like an excited child unwrapping presents Christmas morn. The excitement of ridding my twin-turbo coke can of the "old-man's car wood dash" (mind you I'm 40 and bald - driving a BMW already gets me plenty of old man comments but the wood dash seemed to have certain disdain with me). The vinyl was great to work with. This was my first project with vinyl and I couldn't be happier with the end result...unless someone had done the work for me...for free. There is a bit of a learning curve involved, this required some adult refreshments, plenty of cigarettes and some Wu Tang pleasantly vibrating the floor in my house whilst figuring it out. If you don't own a heat gun before attempting working with vinyl, buy one. Not sure how well a hair dryer does because A.) I have a heat gun and B.) I don't have a hair dryer (refer to aforementioned bald statement)Tips from a guy who has never worked with vinyl: - Make sure you get a squeegee and use it, trust me your finger tips will thank you the next morning. When using the squeegee do not press too firmly, you will leave scratches on your vinyl.- Make relief cuts on the corners or concave or convex areas. This will eliminate trouble when you get to the corners.- Start with the vinyl adhesive side up and lay your trim pieces flat on the vinyl then work your way to the edges.- Once to the edge, leave 1/4 of vinyl to wrap around the edge, then again with the heat gun on the underside.Overall, I am extremely pleased with the outcome of this project and the material. In the event that your vinyl has a wrinkle, heat gun and stretch. Do not overheat as it will melt the vinyl. If you buy the matte finish, overheating and over stretching will remove the matte finish. Measure the area you wish to cover first and buy more than you need, you will make mistakes until you get the hang of application. I hope this helps your buying decision. Enjoy your sore fingertips.
A**N
Easy to install, color as expected.
Strong vinyl and as expected easy installation. Definitely would recommend and buy more. I was able to wrap the headlight housing in one piece which is extremely difficult due to curves and bents. But the vinyl worked well and i like
U**D
Do not bother. Must be advanced to use this
Adds wrinkles in every corner center and anywhere it sits down. Very difficult to smooth out. Wasn’t able to even get to squeegee any and tossed it out. Save your money don’t order this stuff. Meant for probably small parts like 1x1 ft
E**N
produit trop rigide
produit trop rigide meme une fois la protection enleverdifficile a mettre en place du fait de sa rigidité!!!beaucoup de micro pliure....
C**N
Good luck
This stuff is miserable to work with. It's thick as hell and will wrinkle on you in a nano second. When it was shipped it was wrapped so tight I had to heat it up just to get it layed out, and once we started rolling we realized we messed up buying this stuff. If you can make it work for you kudos, open a wrap shop you have the gift. Mind you, trying to wrap a motor bike is no easy feat. But this stuff makes you rethink your life choices that lead you to thinking you could wrestle this demon product into submission. You should take this review with a grain of salt, but maybe spend some extra money on some quality stuff. Went with 3m and it was like a beam of light flooded the garage and the messiah himself blessed our wrap as it lay down so nicely it was as if a miracle occurred.We used this stuff to wrap so random stuff, it was okay if you have the patience of Ghandi.
Trustpilot
1 day ago
2 weeks ago